Followers

Wednesday 1 May 2019

Vintage Gate fold Album


Hi friends, 
Lekha here, I would be sharing with you today a gorgeous gate fold album using the gorgeous pattern paper sent in my A1 DT kit. 
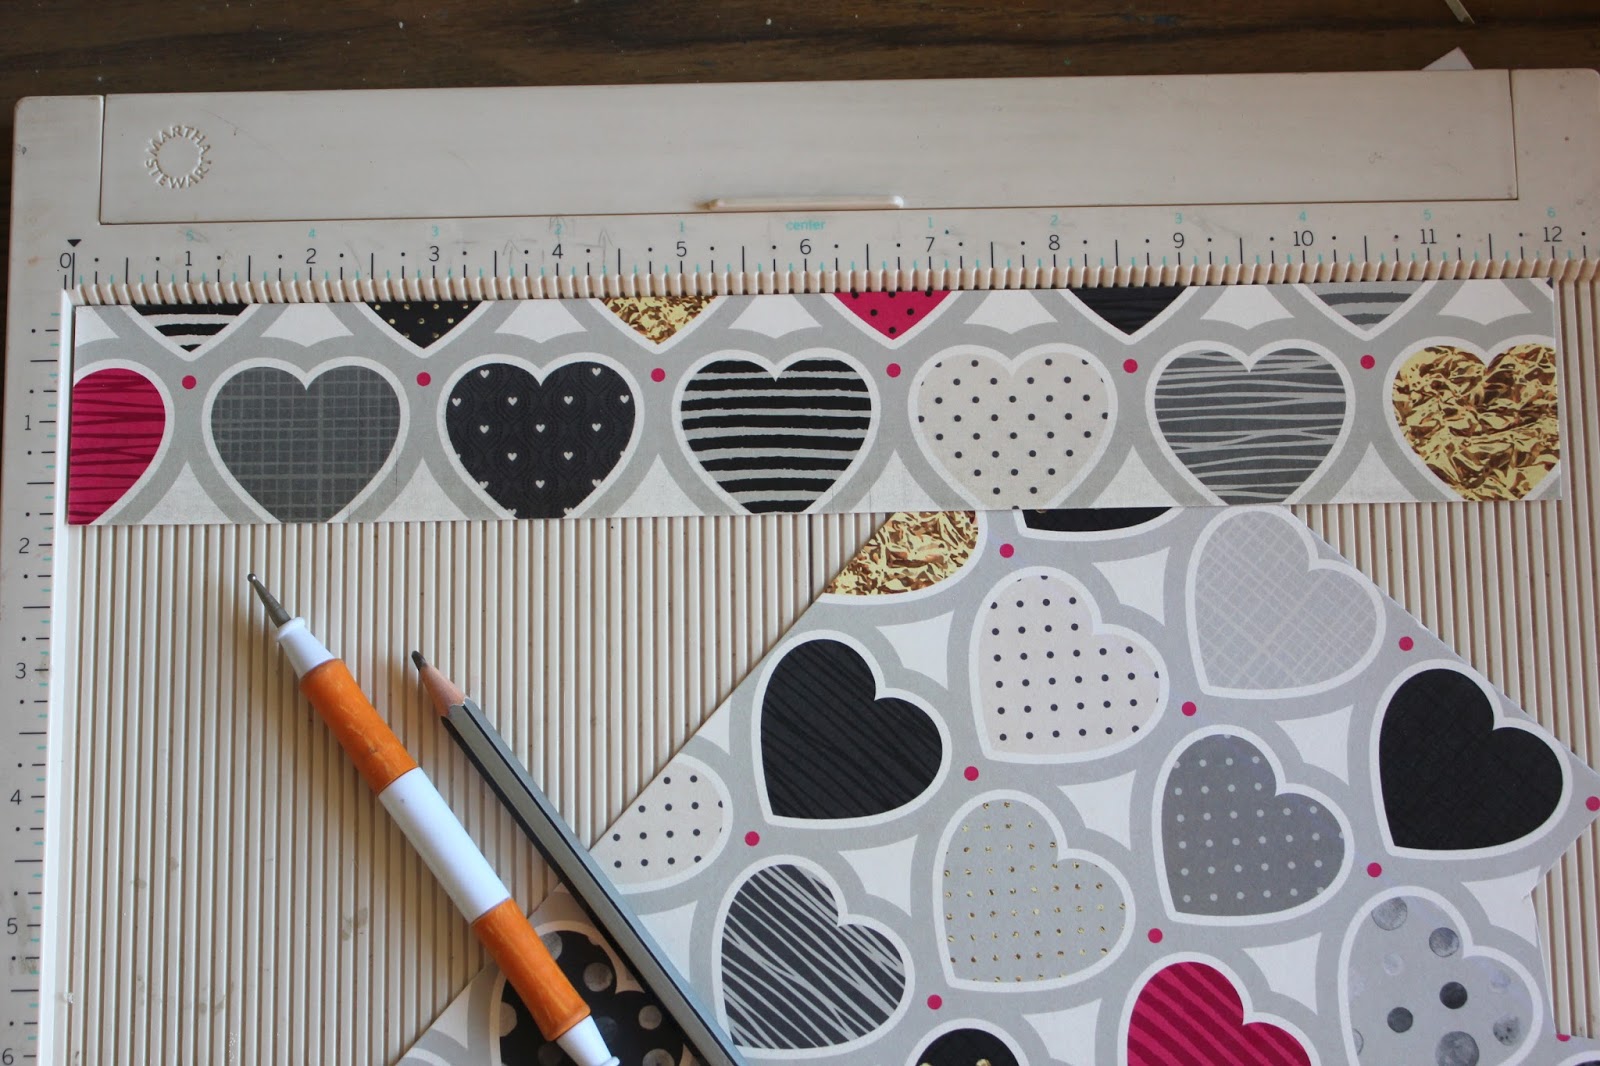
Its a very vintage theme paper with prints in black, gold and whites apt for making scrapbooks or mini albums on wedding, anniversary theme.
 The finished Gate Fold album measures 6"x 6"x 1.5".


Do check my in detail post at Vintage gate fold album blog post.
Also check out the video which shows the complete album.
Hope you like it
Keep Crafting
Lekha

Monday 1 April 2019

Flip n Fold travel album

Hi people , 
I am back at A1craft blog with my new post on making this easy flip n fold travel album.
Do check the blog post for a easy tutorial for the album.


\


Hope you like the album
Keep crafting
Lekha

Monday 18 March 2019

Vintage Masculine cards

HI people, 
Its been a while since I made cards so here are three quick cards using the Retro Traveler pattern paper. Do check my post at A1 craft blog for more. 
Thanks for stopping by and hope you like the cards
Do leave some love in the comments
Keep Crafting
Lekha

Friday 8 March 2019

A1craft DT kit

Hey friends, 
Sharing with you a very happy news. 
I am honored to be on the A1craftSupply  team as one of the design team members with a group of very talented ladies. Here is my first DT kit from the store.
You can find all the products in the video at the A1craft supply store facebook page.
Would be sharing my creations soon till than enjoy the haul. 

Keep crafting
Lekha

Thursday 31 January 2019

Magnolias Cushion Cover

Hi creative heads, 
Hope you all have been fine. I know this post comes after a long interval, hope you like my latest piece of work, very different from the usual paper crafts. This time its fabric !!..
Yes, here is this easy yet gorgeous cushion cover with background stenciling and a new technique called image transfer/fabric transfer. 
The magnolias are printed on a special transfer on paper, which just needs to be ironed for a few minutes and there you have your gorgeous cushion cover ready.
For the background I have used acrylic colors with a stencil on a cotton cushion cover. 


 Hope you like the cushion cover and do share with me your creations too.
Do leave some love in the comments. 
Keep crafting
Lekha

Tuesday 6 March 2018

Pretty Mirror


Hi lovely people , 
I am back on the blog with another quick tutorial using Papericious decoupage papers. And again this time I could not stop myself from using the Pretty Peonies. For the project today I have fussy cut the designs.
I had an old wooden frame with me, painted it in shades of purple and added little gold.Let the paint dry.
 I love the crackle effect, it adds to the vintage factor of your final outcome. Remember to use two contrasting colors while using crackle medium otherwise you wont get the desired effect. Let the medium dry and than add top layer of acrylic paint or chalk paint. The size of the crack would depend on how thick or thin layer of paint you put on top of the crackle medium.
I personally love using chalk paints, they give perfect results when used with crackle medium. Next fussy cut all the images you want from the pattern paper. 
 Papericious decoupage glue is just perfect as its quite tacky and gives you few seconds window to adjust your fussy cut pieces. To add a little interest I have used the Kaisercraft script stamp on the frame with Rangers Sepia archival ink.


Hope you get inspired by this quick tutorial. 
Keep crafting.
Lekha

Supplies Used: 
                                          Decoupage paper- Pretty Peonies

Decoupage Papers - Peacock Medley
Chalk Paints - Bracket Green

Card and Treat box duo

 Hi lovely people, 
Today I am back with one of my favourite set of embellishments, the Papericious 3D mini shakers. 
Also part of my project is the gorgeous Love Actually  paper pack. I would be using the Papericious ready to use treat boxes. 

  I am using the spellbinders classic scalloped circle die to get a scalloped diecut for the semi circular treat box flaps. I have inked the edges of the pattern paper with some archival ink to finish the edges. 

  I have used the beautiful papers from the paper pack on the outer faces of the treat box. These treat boxes comes in various shapes and you just need to remove the tape backing and within minutes you have your gifting solution ready. 
 And here comes the best part...the 3d mini shakers. For the treat box I plan to have a closure band embellished with a simple shaker. Paint the mini shakers using the lovely range of Papericious chalk paints. I have used Brick Red chalk paint.You can paint the inner face of just stick pattern paper. 
 I have fussy cut a sentiment from the collage sheet which comes in the paper pack and than left it free with other shaker beads. One thing I love about these shakers is they come complete with the transparent sheet cut to actual size.

 Next for the band I took 1.5 inch x12 inch pattern paper and scored it according to the thickness of the treat box. Just keep in mind that the band should slip on and off the box easily. 


To coordinate with the treat box I have made simple card. 
Take 5 inch x 12 inch base. Score at 3 inch and 9 inch. Next take another cardstock piece measuring 11.5 cm x 14 cm. I have used a corner chomper to give round edges.


 Layer the cardstock with pattern paper, approx. 1/8th inch smaller than the base of the card.


After adhering all the pattern papers, lets get started with embellishing the card face. 
 I have painted the star shaped 3d mini shaker with gold acrylic paint and fussy cut a sentiment from the collage sheet. I just love the shaker beads from Papericious, these are perfect to complete your projects.


Hope you get inspired to try these. 
Keep crafting
Supplies used: